There is still a year to wait for GTA VI, but don’t get down. You can still enjoy Grand Theft Auto V (GTA V), and the best way to do it is by making your own FiveM server! Why do you need your own FiveM server? That way, you can put all the cool mods you like and massively improve your GTA V experience. You can make the game look better (updated textures), get new cars, play in LA, enjoy new missions, be a police officer, fight zombies, or even become Iron Man. To play a heavily modded multiplayer version of GTA V, you will need a 3rd party server, and here comes the FiveM server. How to create a FiveM server? Here, we will explain everything you need to know.
What is a FiveM server?
The name FiveM comes from “Five” – the current version of Grand Theft Auto, and “M” stands for modifications. FiveM is a modification of the original Grand Theft Auto V, which allows you to play multiplayer on a private server that uses Cfx.re framework. This framework enables developers to create a custom multiplayer experience based on GTA V with maximum modding capabilities. Using own FiveM server, you can add custom scripts, game modes, different modifications, custom new missions, and enhanced gameplay experience.
A very important aspect of FiveM is that you are not modifying the original game files. If you have an original copy of GTA V, you can run a FiveM server without worrying that Rockstar Online (Rockstar Games Inc.) will ban you. The FiveM launcher will check your original GTA V before it allows you to start.
Why use the FiveM server vs the official GTA Online?
We can think of many reasons you should use and create your own FiveM server for GTA. Here are some of them:
- Customization. You can install and use as many GTA mods as you like. New items, cars, storylines, mechanics, maps, world modifications, and more. Thanks to the GTA modding community, you can completely change the game. You can do it without changing the original game files.
- Community creation. You can manage your server, create a tailored community of players who like similar experiences, and fully control who can join the community.
- Role-playing. You can add Role-Playing experiences. You can play as a policeman, Iron Man, Hulk, or another character. There are many FiveM servers, so you can explore many options.
- Improved performance and stability. When you control the FiveM server for GTA V, you can use all the potential of your computer (server). If you have a powerful computer and a good internet connection, you can provide an excellent game server for the players. Thanks to the full control, you can have a very stable experience.
- Event hosting. You can host events like virtual concerts, races, heists, missions, and more. You can also have seasonal events. FiveM server vs official GTA Online is clearly a lost battle for Rockstar.
- Independence from Rockstar. Don’t get us wrong, Rockstar Games Inc. is a great company, and we love their games from the beginning. At the same time, there are huge benefits to being independent. You can evade restrictive policies and add your own as you please.
FiveM server system requirements
Before you start the process of creating a FiveM server, check if your device covers the requirements. The more powerful computer you have, the better the game will run. Luckily, FiveM doesn’t need a very powerful device, and it will run even on systems older than a decade.
FiveM server recommended system requirements:
- CPU Intel Core i5 3470 @ 3.2GHz / AMD X8 FX-8350 @ 4GHz
- GPU NVIDIA GTX 660 2GB / AMD HD 7870 2GB
- RAM 16GB
- HDD 72GB + 8GB
FiveM server, minimum system requirements:
- CPU Intel Core 2 Q6600 @ 2.40GHz / AMD Phenom 9850 @ 2.5GHz
- GPU NVIDIA 9800 GT 1GB / AMD HD 4870 1GB / Intel HD GT2
- RAM 8GB (4 may work)
- HDD 72GB + ~4GB
Step-by-step guide, how to create a FiveM Server
- To host a FiveM server, first visit FiveM.net.

- Click on “create your own server”, and on the next screen, click on “host your own server”, to get the FiveM server files.
- Now search for “Setting up a server using txAdmin”. It should be located on your left.
- On the “Setting up a server using txAdmin” page, click on “Windows server build listing” from the first point.

- Choose the build you would like to use. It contains all the artifacts (compiled binary files and components required to run the server). At the time of writing, the latest is 9073, and the latest optional is 7290. Download the one you like. We will get the 9073.
- After downloading, you must extract the archive and put the content into the desired folder. Use WinRAR or 7-Zip. We will use the free version of WinRAR for this step-by-step guide to create a FiveM server. The target folder we are creating will be named “FXserver” and be located on a drive with enough space.
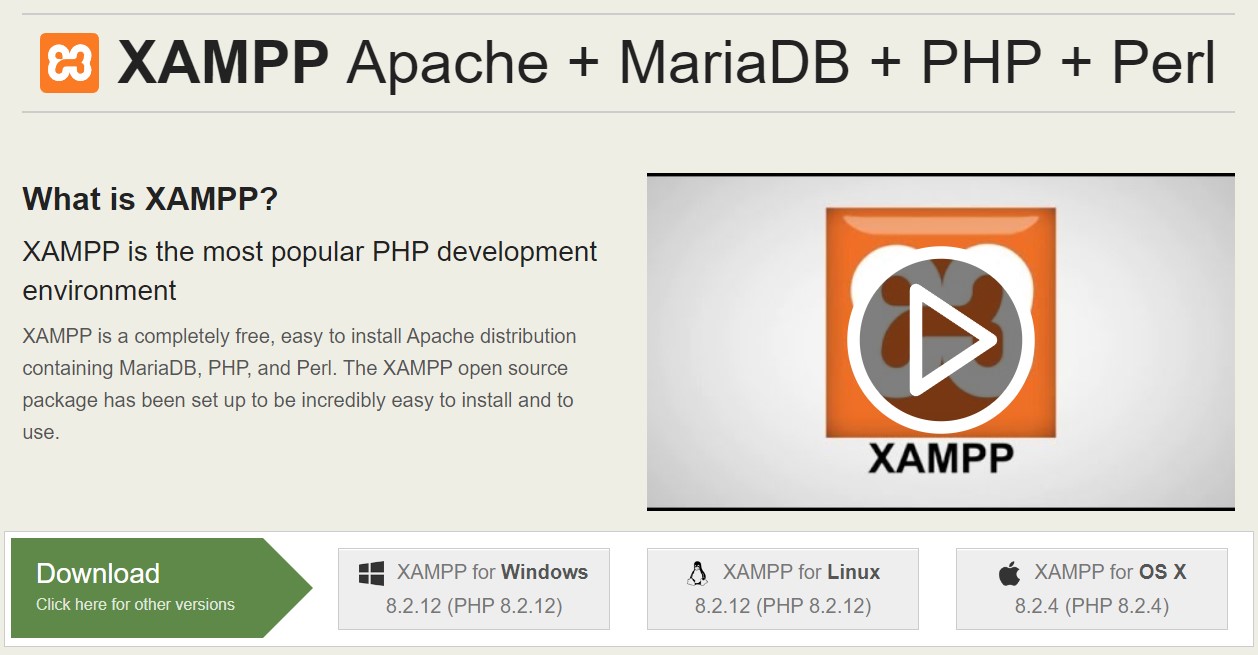
- Now, we will need to install an environment for the server. We will get XAMPP, which will provide Apache and MySQL servers. Download XAMPP.

- Install XAMPP and run it. When you start it, you must start Apache manually by clicking “start” next to it and do the same for MySQL. You will need to manually turn it on each time you restart your computer.
- Let’s go to the “FXserver” folder we recently created. Scroll the folder until you find “FXserver.exe” and open it. When you one it, you will see a console interface. You will see a URL and IP address, plus a PIN. Windows may ask you if you allow network access for this app. Allow it. You will also get a pop-up window of your browser. This will be the admin page for your server. From here, you will be able to ban users and more.
- On the browser tab that the previous action opened, the PIN will be auto filled. Click on “Link Account”. Sign up for a Cfx.re account and sign in with your account. Then click “Continue” and authorize txAdmin to access your username and details.

- Now, you will need to create a backup password. Create it, agree to the conditions, and press “Create Master Account”. This will start a 6-step process.
- The first step is to simply press “Next”.
- Then, in step 2, “Server Name”, choose the name of your server and press “next”.
- At “Deployment Type”, choose the first option, “Popular Recipes”.
- On the next step, “Select Template”, choose one of the first 3. We will go for the “QBCore Framework”.
- The next step, “Data Location”, will allow you to choose the path for all your modes. The installation will suggest one for you, but you can change it. Choose and click “Save” at the end.
- Now click on “Go to Recipe Deployer”, and there, click on “Next”.
- TxAdmin will ask you for a license key. Under the empty field, you can see Keymaster. Click on it.
- The link will take you to the Cfx.re Kemaster page, where first you need to click on “Sign in” with your Cfx.re account.
- There, click on “New server”. Choose “Display name”, then insert your IP address. Check your computer’s IP address by visiting Whatsmyipaddress.com and copy the IPv4 that it shows. Finally, click “Server type” and select “Other/Home hosted”. It will ask you about your provider, you can put whatever you like in this field. At the end, click on “Generate”.
- Copy the server key, return to the browser tab that txAdmin asked you three steps before, and paste it. Click on “Run Recipe”. When it is ready, you will see a pop-up of your server folder. Go back to the browser, and press “Next”.
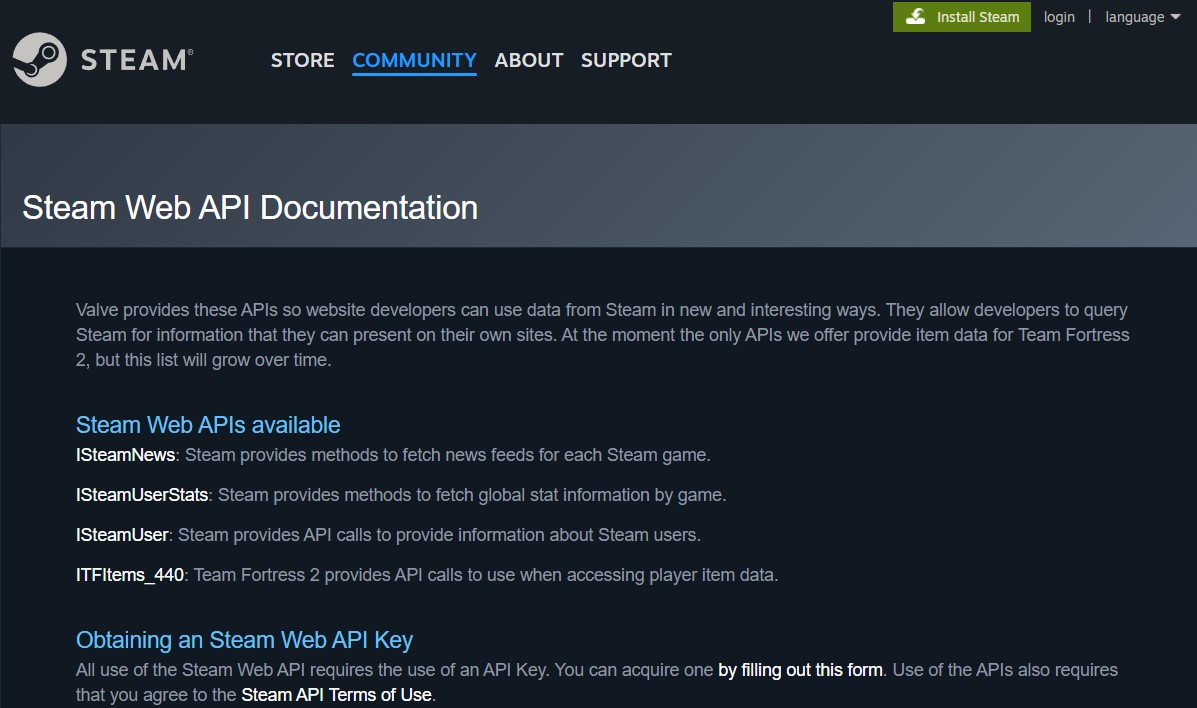
- This will open the “Configure server.cfg” file. Inside the config file, you will need to set “steam_webApiKey”. You will need to go to Steam Community and scroll down to the bottom, where you need to click on “Go to Registration page”. Sign up with your Steam account and get the Steam API key. Paste this key in the field in front of “steam_webApiKey”. Inside the configuration file, each item you put must be between quotation marks.

- Inside the config file, you can change “sv_hostname”. This is the hostname that will be visible to the users. Change the value of “sv_projectName”, which is the name that is visible on the server listing. Then change the value of “sv_projectDesc”, which is the public description. You can also change “load server_icon” if you want to have a custom icon. Go to the folder we set in the 16th step and change it from there. When you are ready, scroll down to the end and press “Save & Run Server”.
- Your server will start installing additional components that it needs, and it will start to function. We recommend you click ” Restart ” to ensure everything installed runs smoothly.
- Now open your FiveM app from your computer. You can click on the Windows start button and type FeveM. You will see the app icon. Click on it.
- Now, under “Play”, you will see “Connect to XXX on LAN”. This shows that the server is successfully up and running. Click on it, and you will connect to your server. Now you know how to create a FiveM server for GTA V. Enjoy playing!
How do you start your FiveM server the next time you start your computer?
27. Go to the server folder that you chose in the last process during step 16.
28. There you will see a bat file. In our case, it is called “start_9073_default.bat” because our build is 9032. You could have a different number based on the build you have chosen in step 5 of the previous process. Start that file, and your FiveM server will start running.
How to create FiveM GTA V server, using a cloud server?
The best way to build free servers is by using the Windows installation on your computer. But, of course, you can hire a server online. Usually, such a server will require the Linux version of the FiveM GTA V. Renting a VPS or a dedicated server will cost you at least $20 for a less powerful one, and the price can easily go to $100 per month.
Many people from the modding community chose this option. Many of the available servers on the FiveM server lists are exactly Linux GTA V servers. The idea is to get a suitable cloud server that covers the hardware requirements. The steps are very similar, with the biggest difference is that if you choose the Linux version, you will need basic Linux knowledge to use the command prompt.
Just so you know, renting a server from a top-notch data center could be expensive. Weight the price of hosting on a dedicated server or virtual server vs. hosting on your device. See what suits you better.
Final words about creating own FiveM server
The process of creating a FiveM server looks a bit daunting, but the good news is that you only need to do it once. After that, you will only enjoy adding different mods to your GTA V. Honestly, you will probably be able to create it in under an hour. Go ahead and try. We wish you an exciting gameplay, and if you have a minute, share your FiveM server with P2gamer.com. We can play together!